


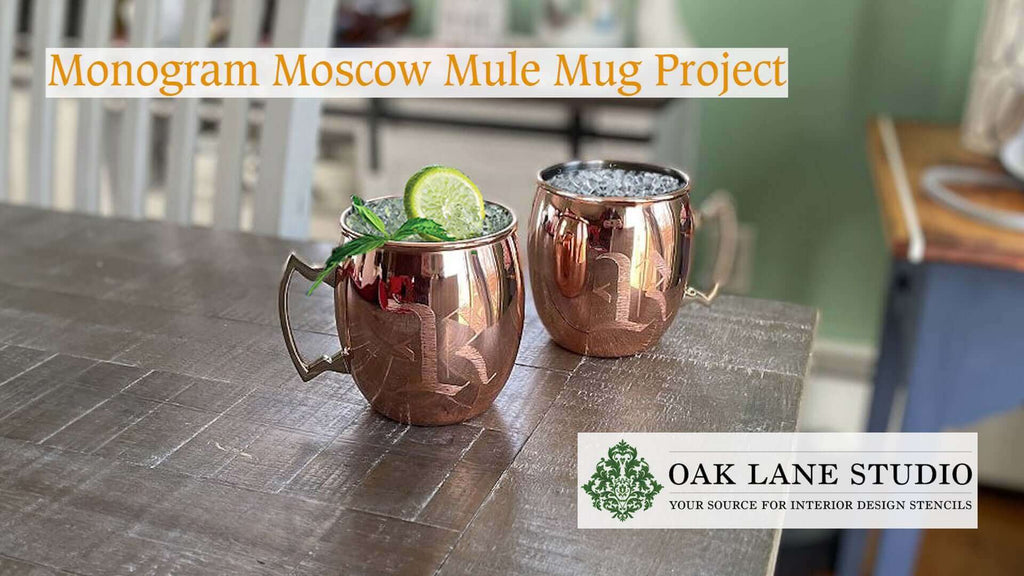

Monogram Moscow Mule Mug Project from Oak Lane Studio
You've worked your a** off all week - now kick back with this Stenciled Monogram Moscow Mule Mug Project from Oak Lane Studio.
Here's what you'll need:

- Diamond Tipped Engraver Tool
- Old English Alphabet Stencils
- Repositionable Spray Adhesive
- Frog Tape
- Scissors
- Moscow Mule Mugs (2)
Preparing the Stencil


First take some scissors and cut out your letter from your alphabet stencils in your chosen font.
Repositionable Spray Adhesive


On a protected surface, turn over your stencil and spray the underside with Repositionable Spray Adhesive.
Frog Tape


Next, take some pieces of Frog Tape and position your stencil where you want it on your mug.
Add the pieces of tape around the edges to help secure the stencil of the mug.
Form-fitting the Stencil


Using the scissors, carefully cut the narrowest stencil breaks to help stencil lay flat against the curved surface of the mug.
Take care not to scratch the mug's finish with the scissors.
Engraving


Now, take the Engraving Tool with the narrow tip installed and carefully trace the edge of the design using one small motion at a time.
After the outline is complete, and keeping all lines parallel and in the same direction, start filling in the space in between the design edges.
Start from one edge and pull towards the middle of the space and little bit farther.
Then, switch to the opposite edge and do the same, overlapping the lines slightly in the middle.
Removing the Stencil


Once finished carefully peel away the tape and the stencil.
To remove residual adhesive, simply wash the mug with warm water and dish soap.
Repeat the process additional mugs and now you have a wonderful gift for the favorite people in your life!
